Nutty Maple Bars
Unique. Clean. Simple. An upgrade from packaged items.
Key notes
I purchase raw nuts (we get ours from Azure Standard and Costco). I like to buy foods as close to harvest state as possible and avoid any bulk processes they may go through before getting to my kitchen. But I always soak, dehydrate, and roast my nuts before using them in bars (or anything else!). The soaking process strips away the phytic acid layer. This is a protective layer that preserves the almonds BUT also prevents your body from being able to fully absorb their vitamins. Soaking the nuts aids in digestion as well. For a step by step guide on how to soak your nuts, visit my “prepping your ingredients” blogs (coming soon!).
Maple syrup not corn syrup! Check the ingredients on your syrup. A lot of brands are no using 100% maple syrup. Artificial flavors, corn syrup, Carmel coloring…not ingredients you want to consume!
Unsweetened peanut butter. I don’t like buying nut butters with added sugar. I want nut butters with simple ingredients. Nuts & salt, that’s it! Aside from the nutrition value, adding sugar to a nut butter makes it thick. So when you use it to make bars, you will have to add more than the recipe calls for because it will not be enough to help the ingredients stick together. You will be left with a crumbly bar. If you don’t have any peanut butter without sugar, you’ll need to add 1 tsp of coconut oil per 1/4 cup of almond butter OR you can start with 1 cup of peanut butter and add more as needed.
In light of the previous note, you will want to blend the ingredients as instructed in the recipe. Use the separate mixing bowl rather than continuing to add ingredients to the food processor. When you mix a nut butter directly with a sweetener (in this case the dates), it will quickly thicken into a texture that is difficult to work with. It cannot be saved without added a coconut oil in an attempt to loosen the mixture.
If you have a stand mixer, feel free to use it to combine ingredients, just don’t use the whisk attachment as it will not combine well.
If you don’t have a food processor, you can chop your almonds + walnuts with a knife after breaking them with your hands. Or you put them in a freezer safe ziplock bag (so the bag is thick) and beat them with a wooden or metal spoon until they reach a desired size. (Unless your blender advertises it, do not put your nuts in the smoothie mixer). Your mixture will not be as fine as this recipe anticipates so you may need to add extra coconut and/or almond butter (whichever you prefer). Start with 1 TBSP extra at a time.
Storing your bars is simple. Just place them in the fridge in a sealed container. Ours have never gone bad and they have been left for several weeks.
We take our bars on the go! Even though this recipe is stored in the fridge, we use them as our every day snacks. No more packaged items! We take them in a lunchbox with an icepack. You can also bring them without an icepack, just keep in mind they will begin to melt, especially if its summer!
Homemade Almond Oat Bars
appliances & kitchen items:
mixing spoon
food processor
mixing bowl
small glass bowl (1-2 cups)
measuring cups (1/4c, 1/2c, 1c, 1/2tsp)
parchment paper
small cookie sheet or 9x5 or 8x8 glass pan
knife or hardy pizza cutter
*if you don’t have a food processor you can crush the nuts in a ziplock bag.
Ingredients
1 cup roasted almonds
1 cup roasted walnuts
1 cup rolled oats
1/4 cup REAL maple syrup
1/4 cup virgin coconut oil
1/2 cup peanut butter (without sugar!)
1/2 tsp himalayan salt
Instructions
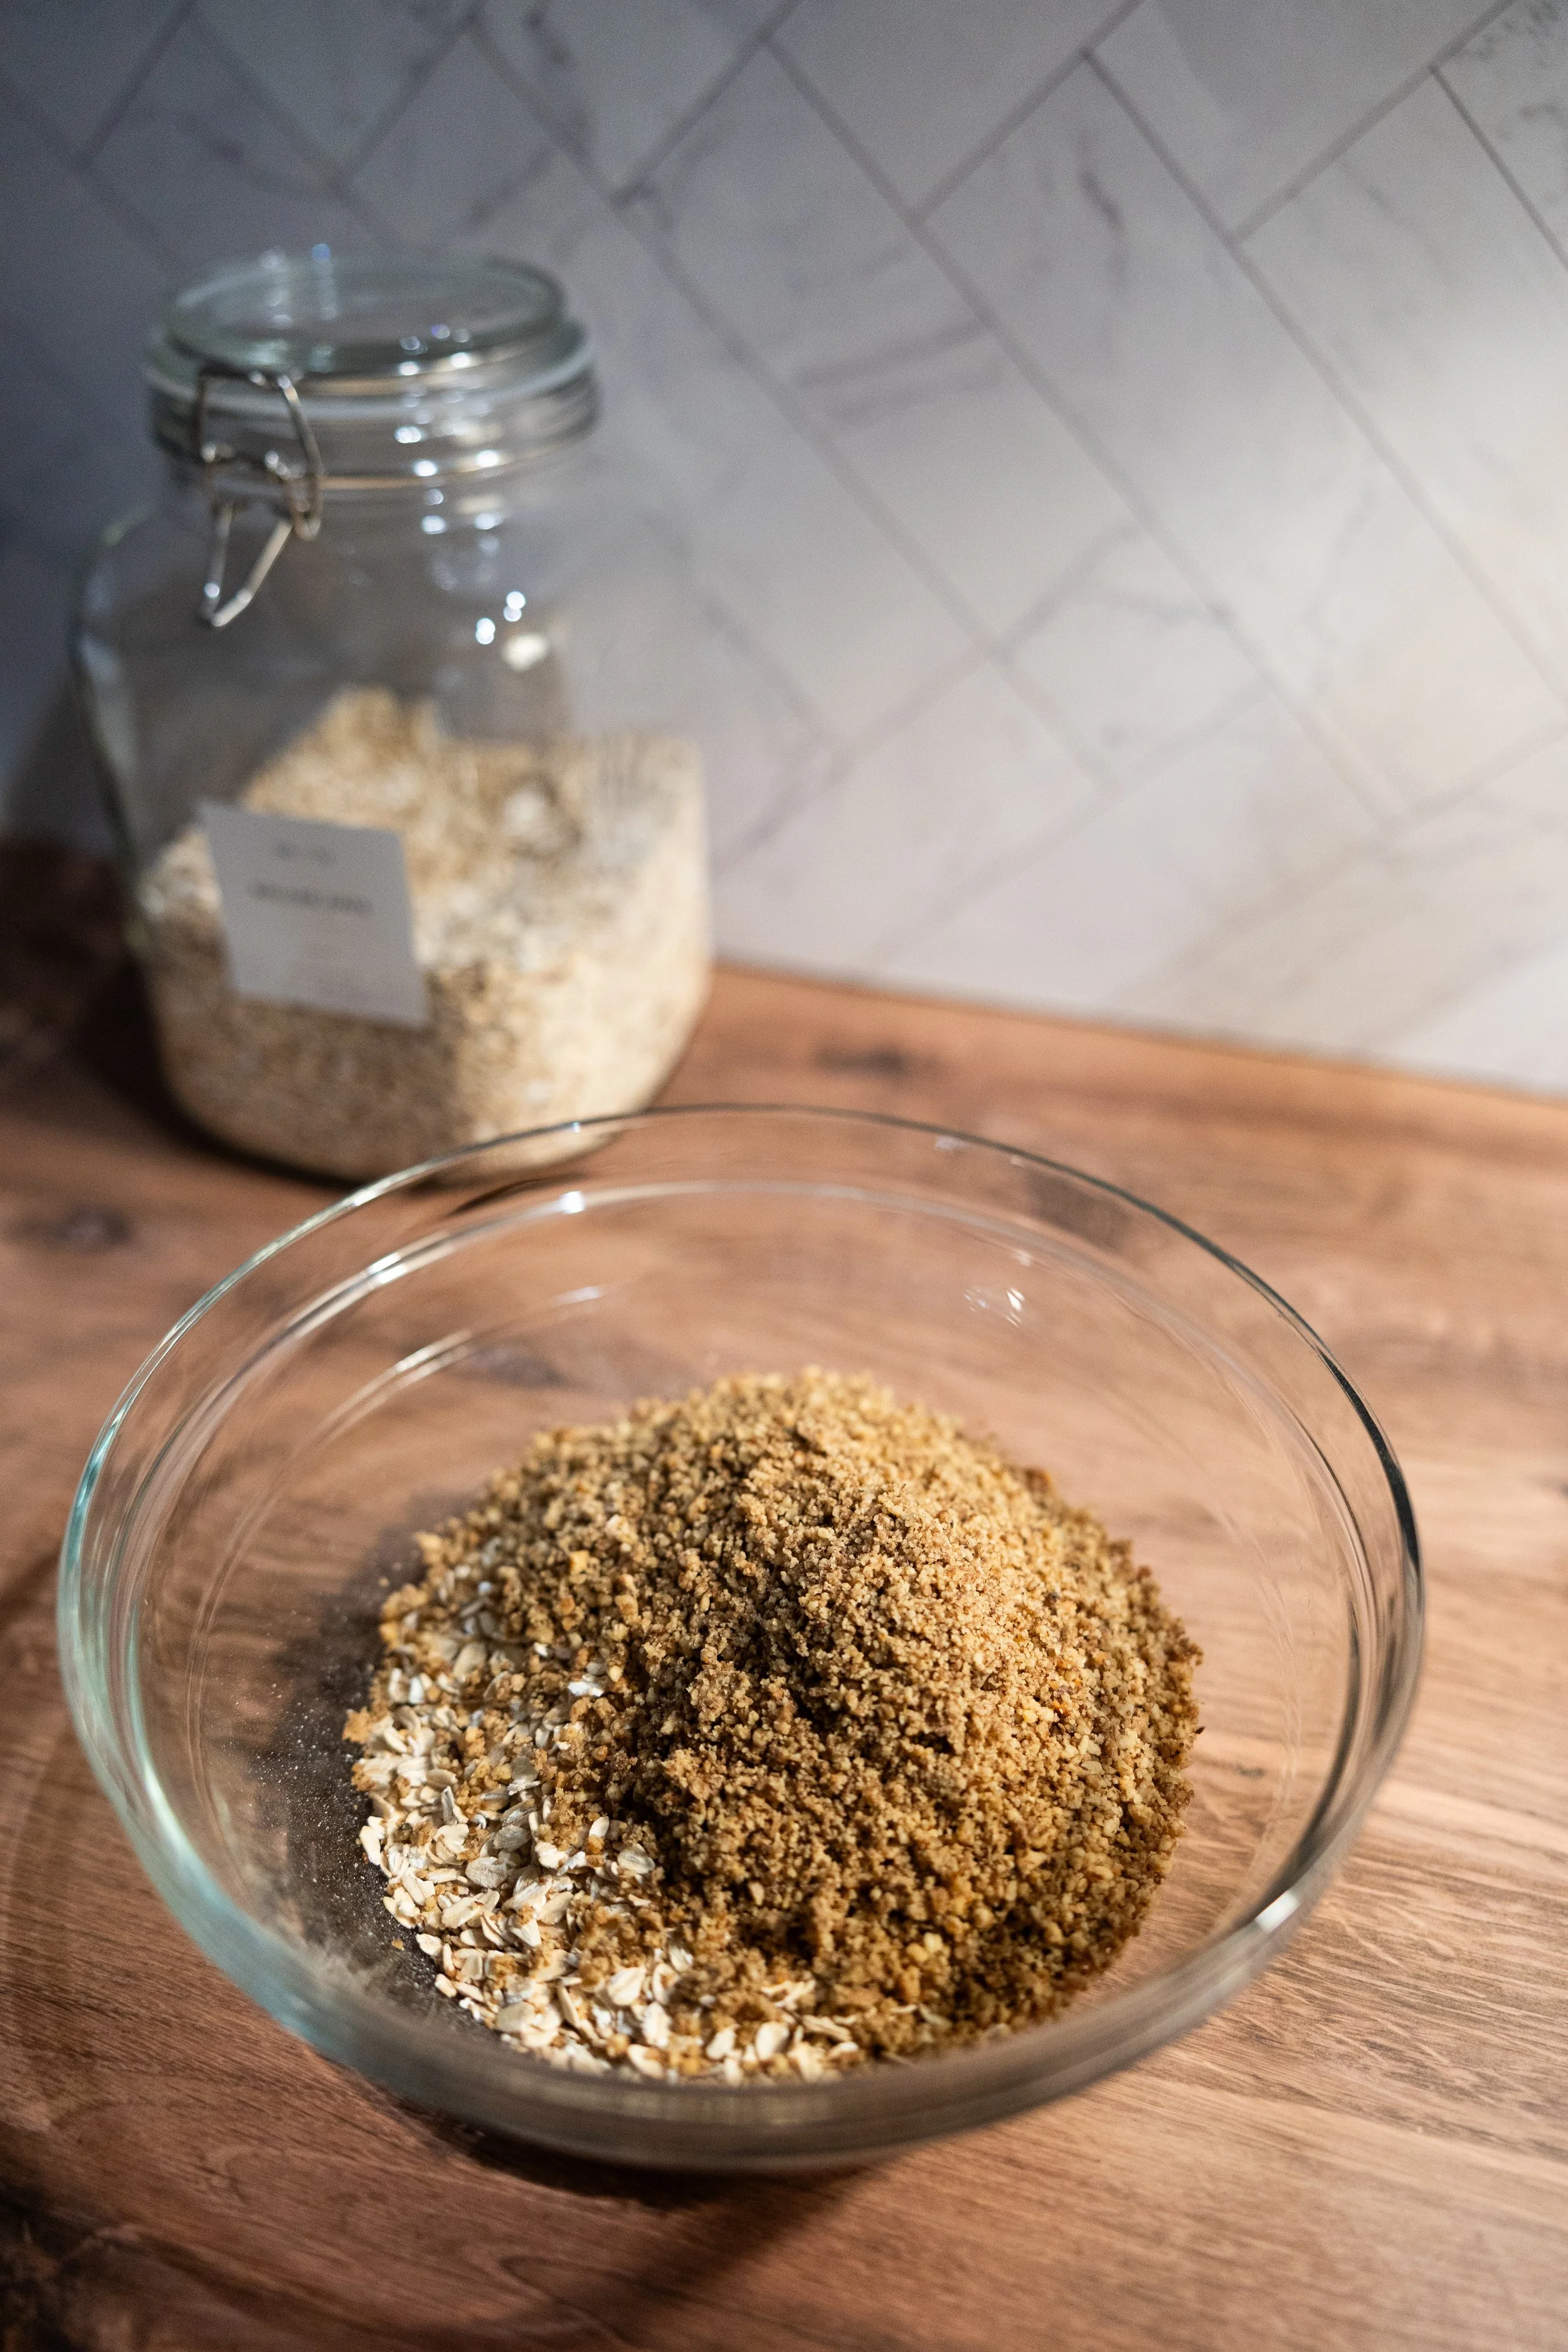
Blend the almonds and walnuts in the food processor for 45-60 seconds on high.
Pour the nuts into the mixing bowl.
Add the remaining ingredients (oats, salt, maple syrup, peanut butter, coconut oil).
Mix the ingredients with a spoon (or use your hands 😜)
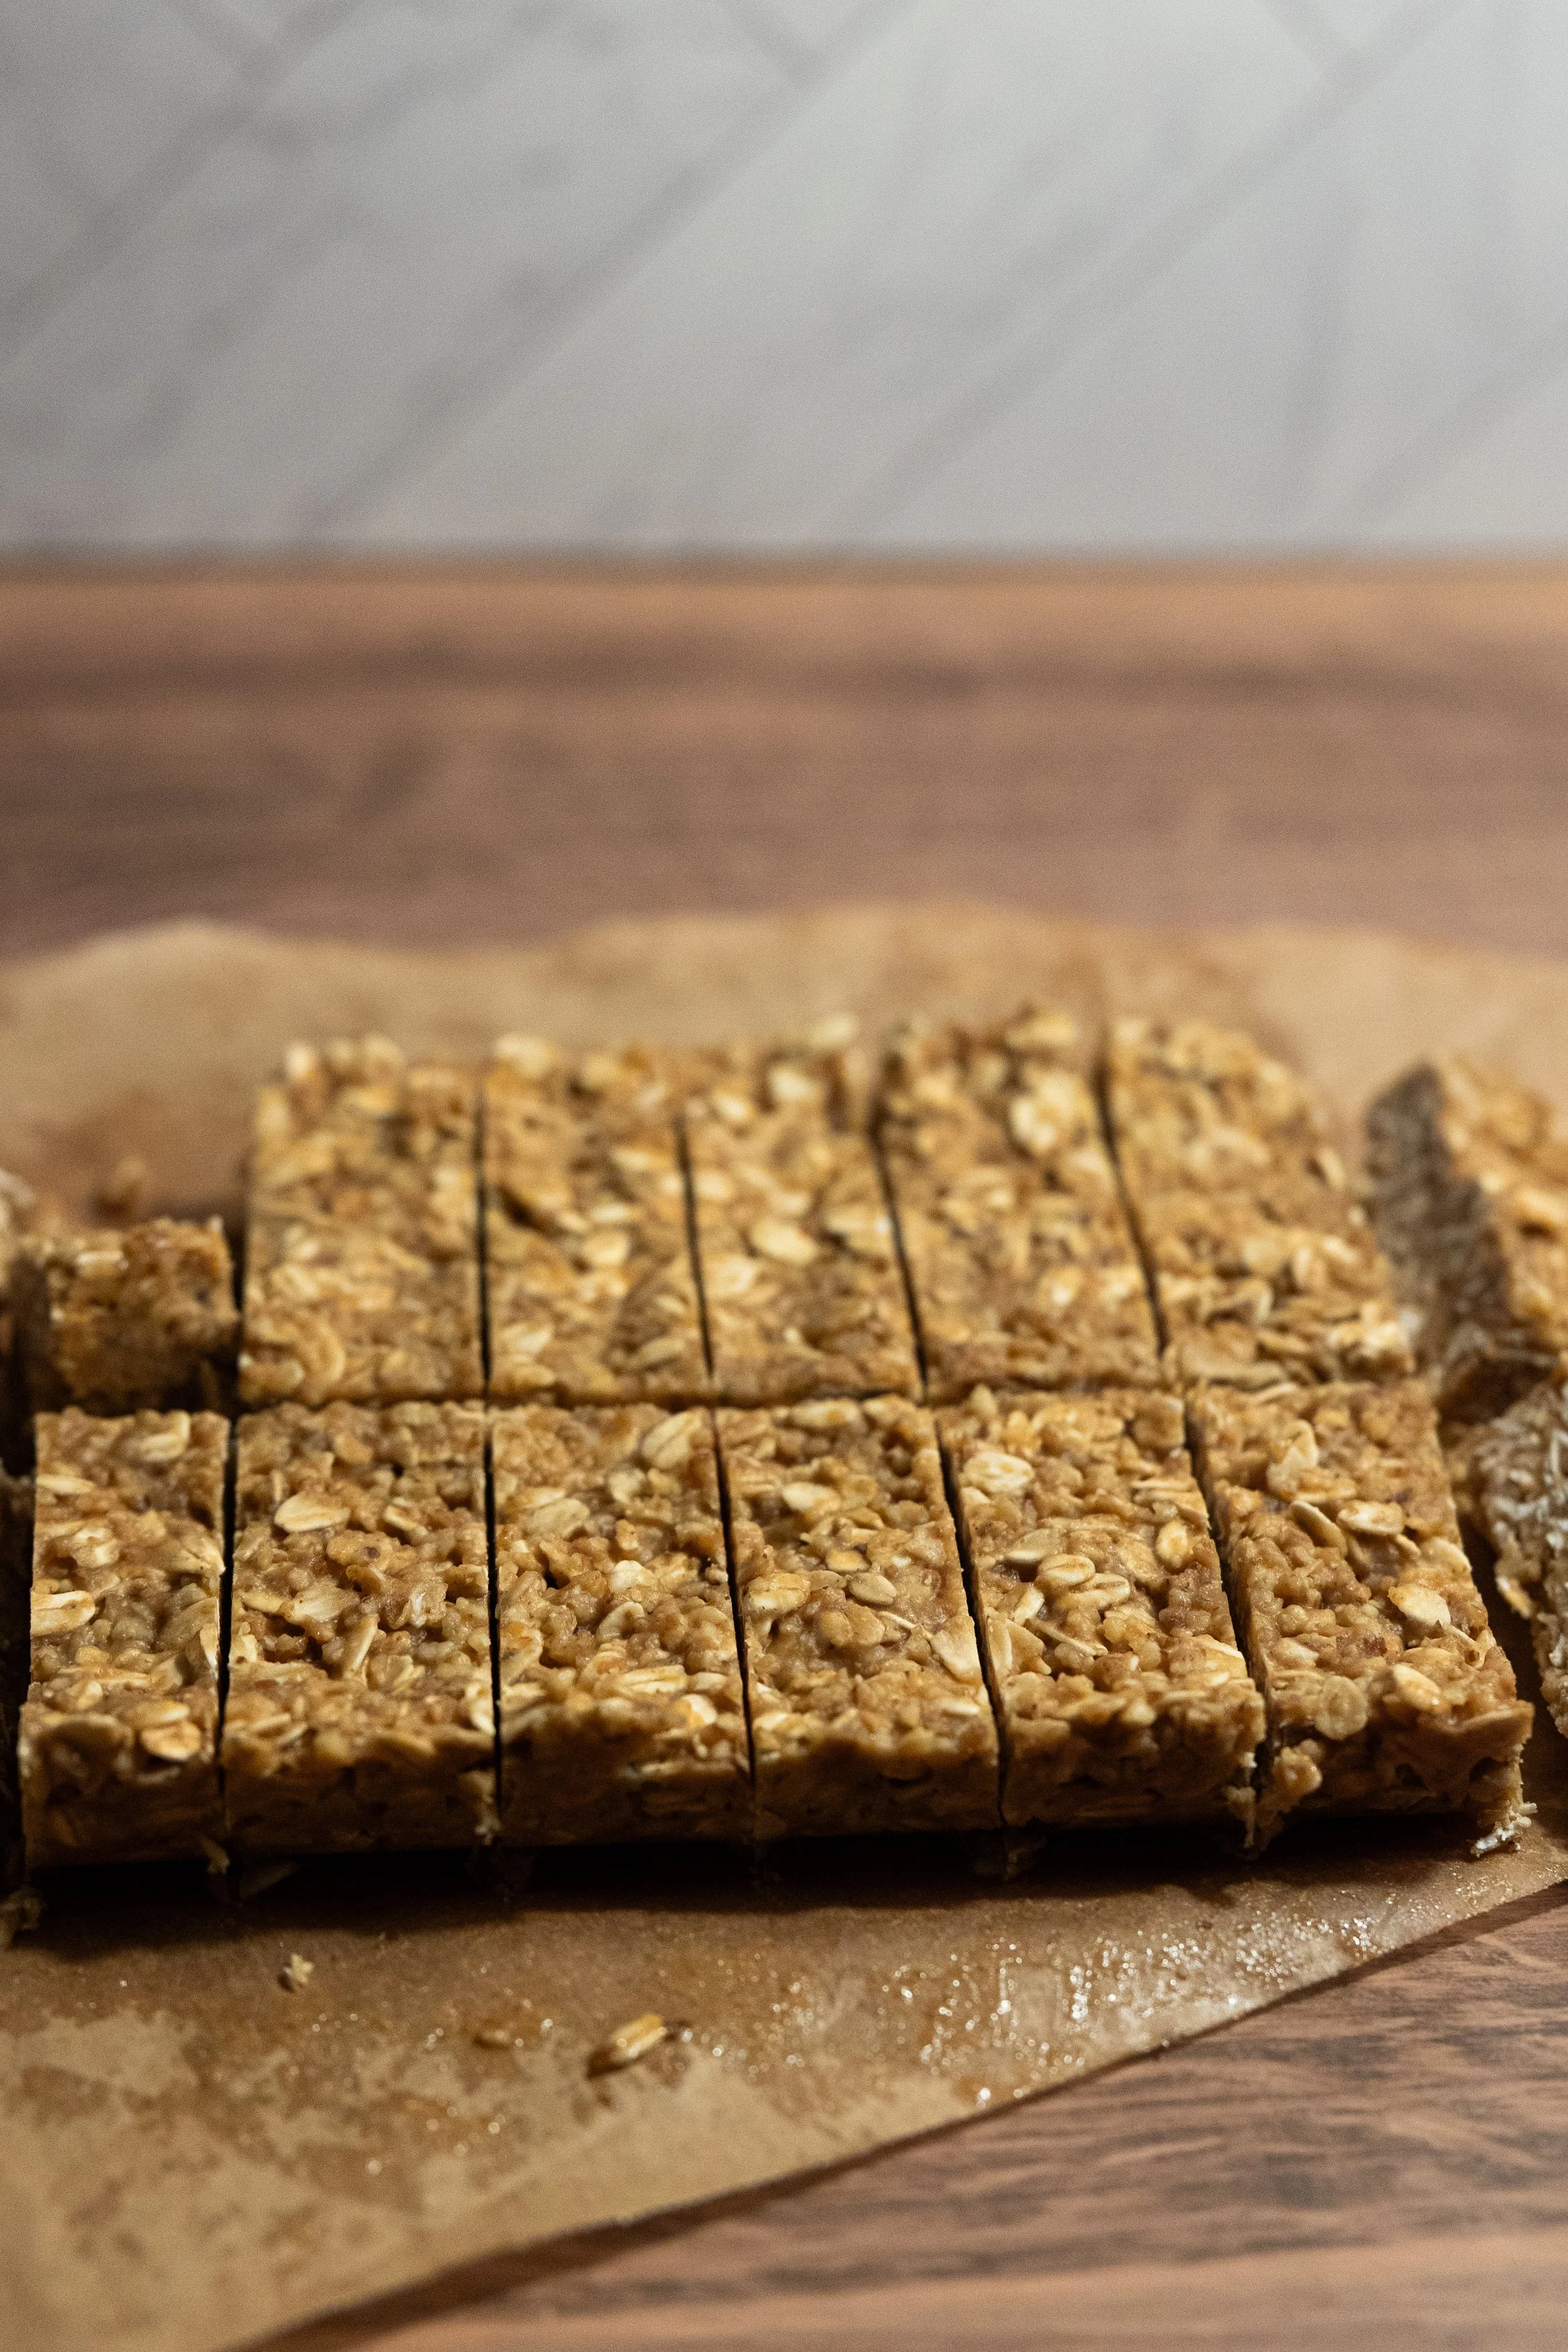
Once the ingredients are well combined, pour the mixture onto a small cookie sheet or 9x5 or 8x8 pan. You will want to use parchment paper so it is easy to remove. They work best if they are at least 1/2 inch thick.
firmly press the bars onto the pan. This will help them stick together once chilled.
Set the pan in the fridge for 2+ hours to chill before cutting.
Use a knife or quality pizza cutter to cut the bars into your desired size. I like to cut them into 1.5 inch squares.
Store in a sealed container in the fridge. Ours have never gone bad and we’ve had them in the fridge for up to a month a times.

Have you made these? Let me know how you like them! Leave a comment or tag me in a photo on instagram!